Sign up to our newsletter for exclusive offers!
Checkout using your account
Checkout as a new customer
Creating an account has many benefits:
- See order and shipping status
- Track order history
- Check out faster
Create a Batik Design on Fabric

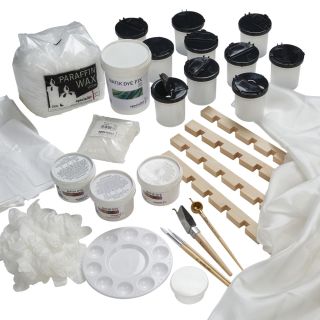
Batik is a traditional art form that transforms plain fabric into a vivid tapestry of patterns and color using wax-resist dyeing techniques. Originating from Indonesia and practiced across various cultures in Asia and Africa, batik is both a practical craft and a form of creative expression. Whether you're inspired by intricate heritage motifs or modern abstract styles, batik offers a unique, hands-on way to create one-of-a-kind textile designs.
This guide will walk you through the essentials of making your own batik design on fabric. From selecting materials and applying wax, to dyeing and finishing your artwork. Whether you're a beginner or looking to refine your technique, this step-by-step tutorial will help you confidently explore the art of batik and bring your textile ideas to life.
Step by step - Let's Create
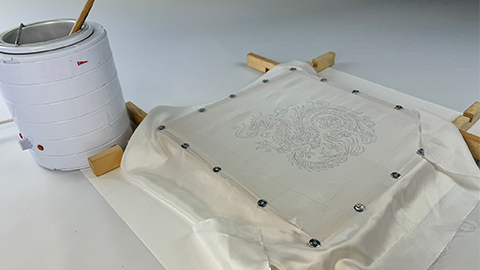

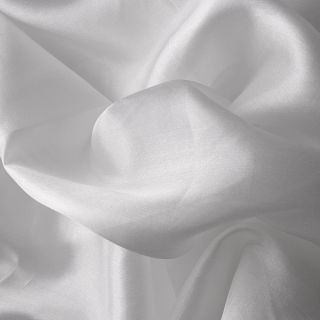
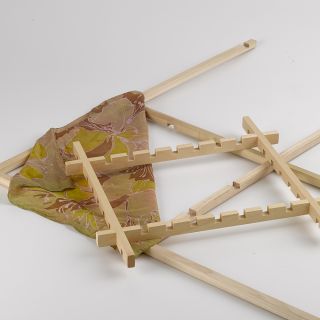
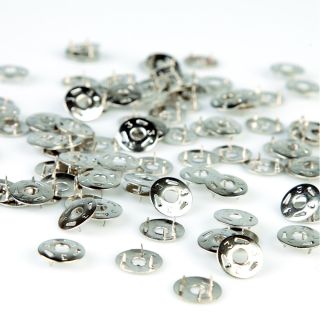
Preparing the Fabric: Wash and dry the fabric to remove any sizing or impurities. Iron the fabric to ensure a smooth, wrinkle-free surface. Stretch the fabric on a frame and pin with silk pins or secure it flat on a surface for stability
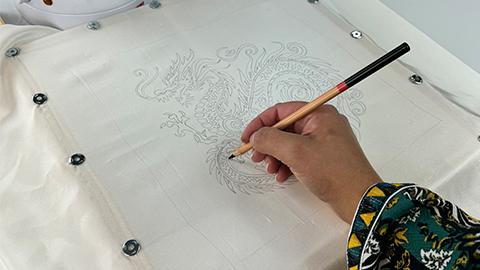

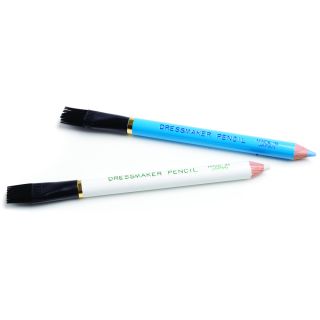
Drawing the Design: Lightly sketch the outline of your design onto the fabric using a washout pencil or fadeaway dressmaker’s pen.
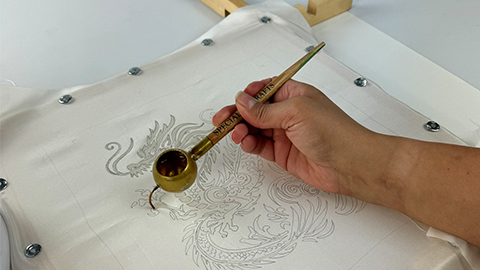

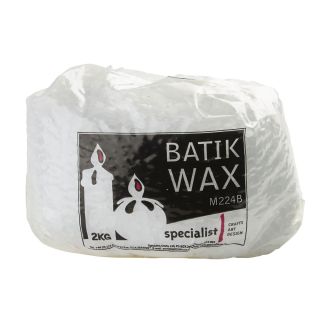
Applying the Wax: Heat the batik wax in the melting pot, until fully melted. Using a tjanting tool or brush, carefully apply wax over the outlines of your design. Any areas covered by wax will resist the dye and preserve the fabric’s base colour in these areas. Let the wax cool and harden completely.
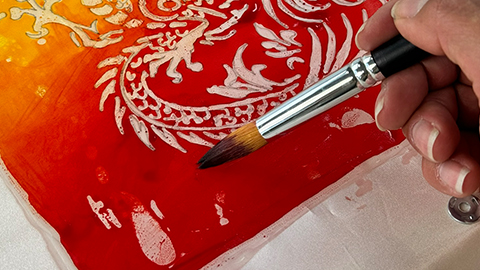

Dyeing the Fabric: Apply the batik dye to the fabric, starting with lighter colours first. You can use a brush or dip the fabric completely for one colour design. Once satisfied with the colouring, let the fabric dry completely. Advanced Tip: For multi-coloured effects, allow each lighter layer of dye to dry and apply more wax over that colour you want to preserve before adding darker dyes.
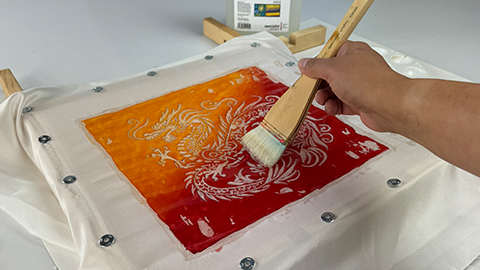

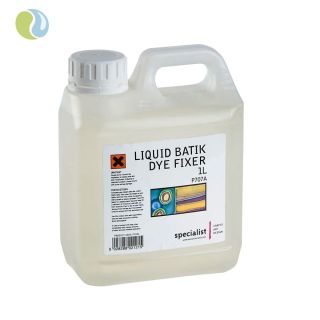
Setting the Dye: Apply the batik fixative according to the instructions to set the colours. Leave on for a minimum of 2 hours. Rinse the fabric gently in cold water to remove any excess dye.
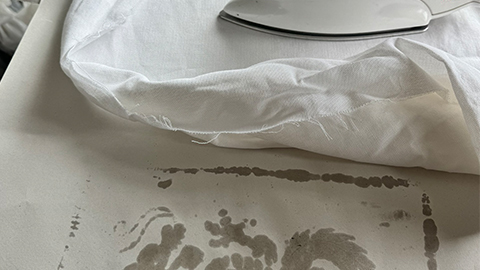

Removing the Wax: Place the fabric between layers of absorbent paper or cloth. Gently iron over the paper to melt and absorb the wax. Repeat with fresh paper until all of the wax is removed. Wash the fabric in warm water with mild detergent to remove any remaining residues. Rinse thoroughly and hang to dry.
Tips for Success:
• Experiment with wax layering and dye combinations for more complex designs.
• Practice handling the tjanting tool for precise wax application.
• Use bold, contrasting colours to bring out the details.
• Enjoy the creative process and embrace the unique textures that batik art offers!
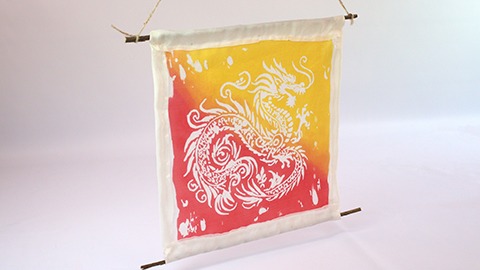

Final Touches: Once dry, iron the fabric to smooth it out. Sew a seam along the sides, then create a pocket seam at the top and bottom for your wooden sticks to slide through. Finally, add a string to hang your design. Your batik fabric design is now complete and ready for display


