Sign up to our newsletter for exclusive offers!
Checkout using your account
Checkout as a new customer
Creating an account has many benefits:
- See order and shipping status
- Track order history
- Check out faster
Step by Step Guide to Making a Functional Clay Clock

Inspired by The Great Pottery Throw Down, where artists pour their emotions into clay to create meaningful, personal pieces. This project aligns with the UK Art & Design curriculum by encouraging students to develop their ideas, master sculpting techniques, and explore storytelling through sculpture. It allows them to create meaningful, personal artwork while building confidence in working with ceramics.
Take inspiration from our creative Katie, who made her clock truly personal. She sculpted a tiny, delicate version of her cat, carved a bridge from her holiday to Mostar in Bosnia and Herzegovina—where she got engaged to her now husband—and painted her favourite flowers in glaze. Every detail tells a piece of her story! Encourage your students to do the same, weaving their memories, passions, and experiences into a unique functional artwork.
Step by step - Let's Create


Create a template for your clock.
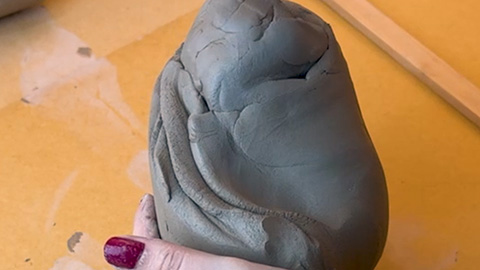

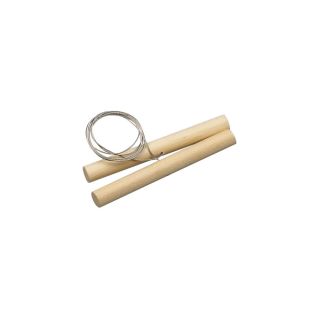
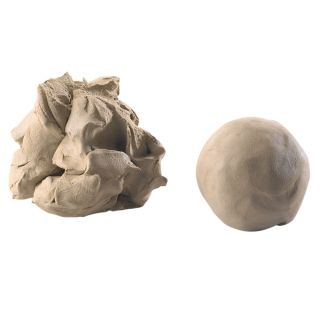
Cut and knead your clay. Tip. Creating ram’s horns helps the clay to get rid of air.


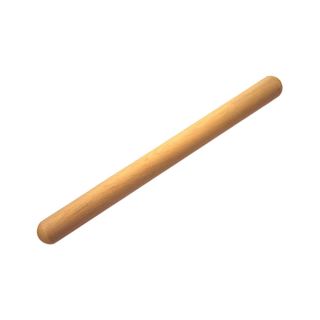
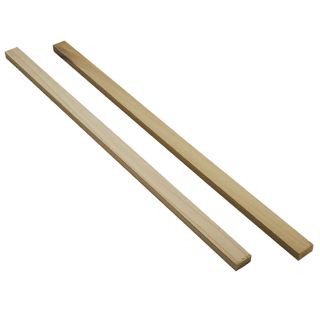
Roll out your clay to an even depth using rolling guides to help.


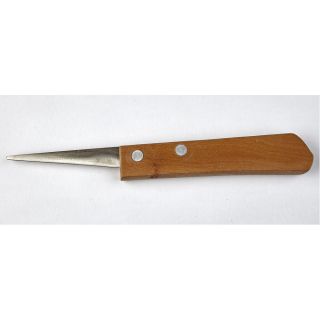
Using a clay knife cut out your templates in the clay.


Allow the clay to dry to leather hard evenly all over. Tip. Lay your clay on a former so it dries in the right position.
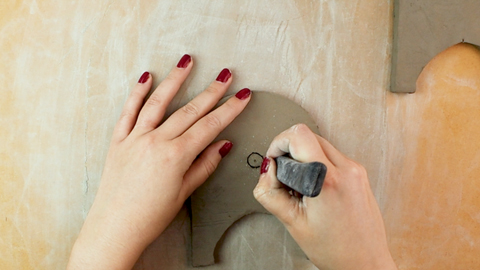

Once leather hard. Measure and cut out your hole for the clock hands. Remember to account for the shrinkage rate so make the hole bigger than your clock mechanism.


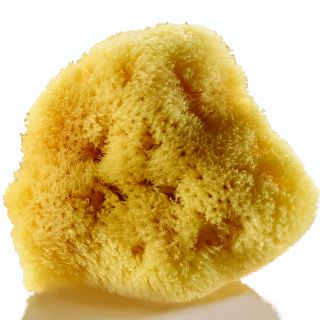
Score your clock where you want to join sections and join with slip. Smooth with a sponge.


Repeat to stick the flat faces of the clock to the middle section. Make your middle longer than your faces so you have excess to cut off.


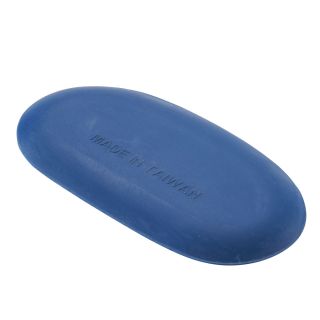
Smooth your clock with a damp sponge and rubber kidney.


Add texture and details with your clay tools. Once the detail is added, allow the clock to fully dry to the point it is bone dry.


To get a stable base, you can make circles on a rough surface to fettle away raised edges.


After you Bisque fire at the temperature suggested for the clay. Draw in a normal HB pencil more detail.


Paint on your glaze. Use two or three coats and don’t mix glazes.
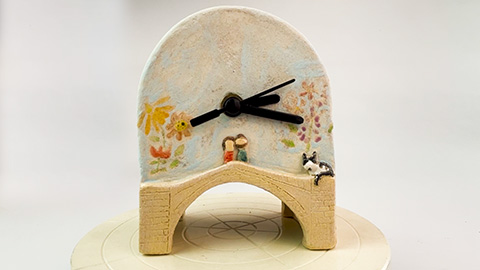

After the second fire attach your clock movements. Tip. Snip and sand down the hands if they are too long.


