Sign up to our newsletter for exclusive offers!
Checkout using your account
Checkout as a new customer
Creating an account has many benefits:
- See order and shipping status
- Track order history
- Check out faster
Marbling - a complete guide

Marbling - Introduction
Early marbled papers date back to 12th century Japan at least, where the method was kept a secret. Gradually over the next 400 years the secret spread to Turkey and from there, to Europe.
Modern materials have brought this ancient and beautiful art form up to date. It is now very straightforward and simple, with ready to use paints, and where necessary, easily prepared size. Marbling is now far more accessible to anyone wishing to try this compelling process. It is an immediate art form, where large areas can be covered quickly and the results are always pleasing from the very fi rst time you try, making it an encouraging and rewarding pastime.
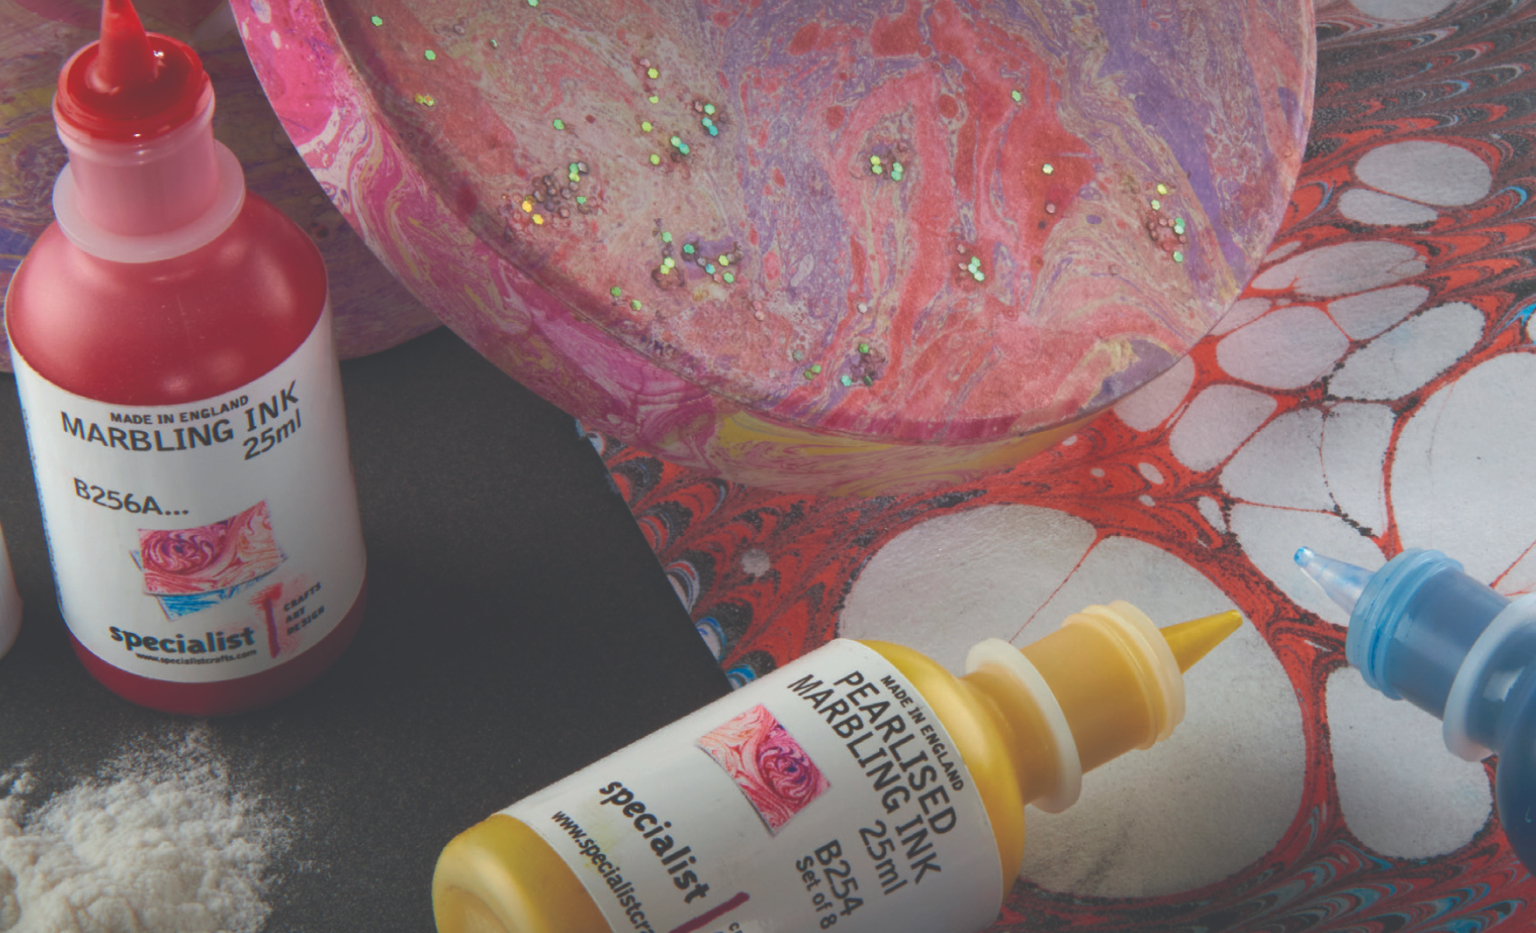
Marbling is simply the transference of flotating colour from a water based liquid onto another surface, usually paper or fabric, but quite feasibly wax, wood or plaster.
Modern colours are bright and cheery. Gold and silver tones for fabric add an exotic touch to items, while fluorescent and pearlised hues lend a fun and lively feel to marbled papers. It is an enjoyable and very absorbing occupation that
produces delightful and useful results.
The papers and fabrics can be used for decorating many items, which in turn are made more desirable by their interesting patterns.
Contents
What You'll Need
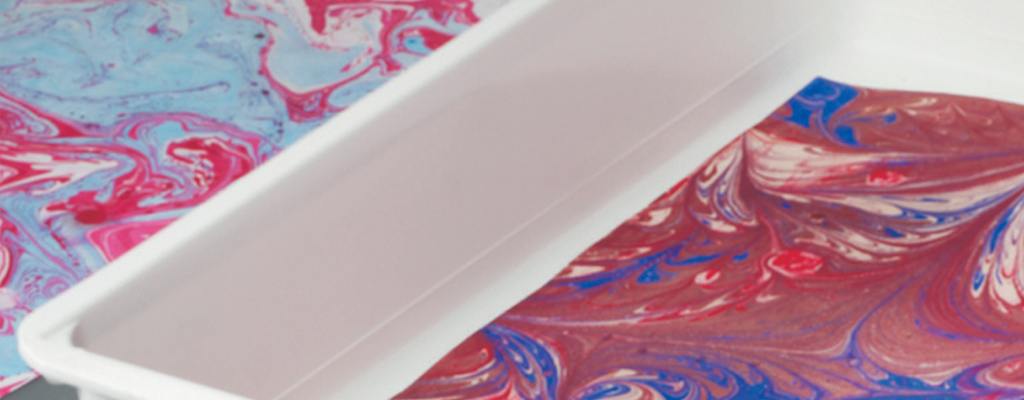

Each time you apply the colours to the bath, you are creating a unique design, as it is impossible to recreate another identical result, though many of the patterns can be copied. This is part of the charm inherent in marbling.
We have included the traditional method of seaweed marbling in this guide, as it is still an important way to produce stunning results.
You will need:
Paper and fabric marbling
This method of marbling requires a special thick bath that will allow the colours to sit on the surface of the liquid without sinking, as well as be fluid enough to form patterns. The colours and marbling ground have been designed to be compatible so that optimum results can be achieved.
The bath is easy to prepare and the results should delight you. The bath will improve with use, for example, the first few attempts should be viewed as practise. After that the bath will be primed. It is a good idea to practise your designs first before using your final paper or fabric. If you do not like a pattern you have created, just skim the surface with newspaper once more and carry on.
1. Skimming the surface is important as it breaks the surface tension and allows the colours to spread. Be sure to skim just before applying colour each time. Tension will reform between one and two minutes after skimming, so this is the length of time you have to create your design.
2. Cover your work area with newspaper. If possible try to work near a sink. Mix 2 teaspoons of marbling ground into every litre of water. NOTE: The marbling bath (size) needs to be prepared in advance as it takes time to mature. If you can, mix the ground with warm water and leave overnight. On hot days the bath will be ready sooner. If you can still see granules in the mixture it may not be quite ready.
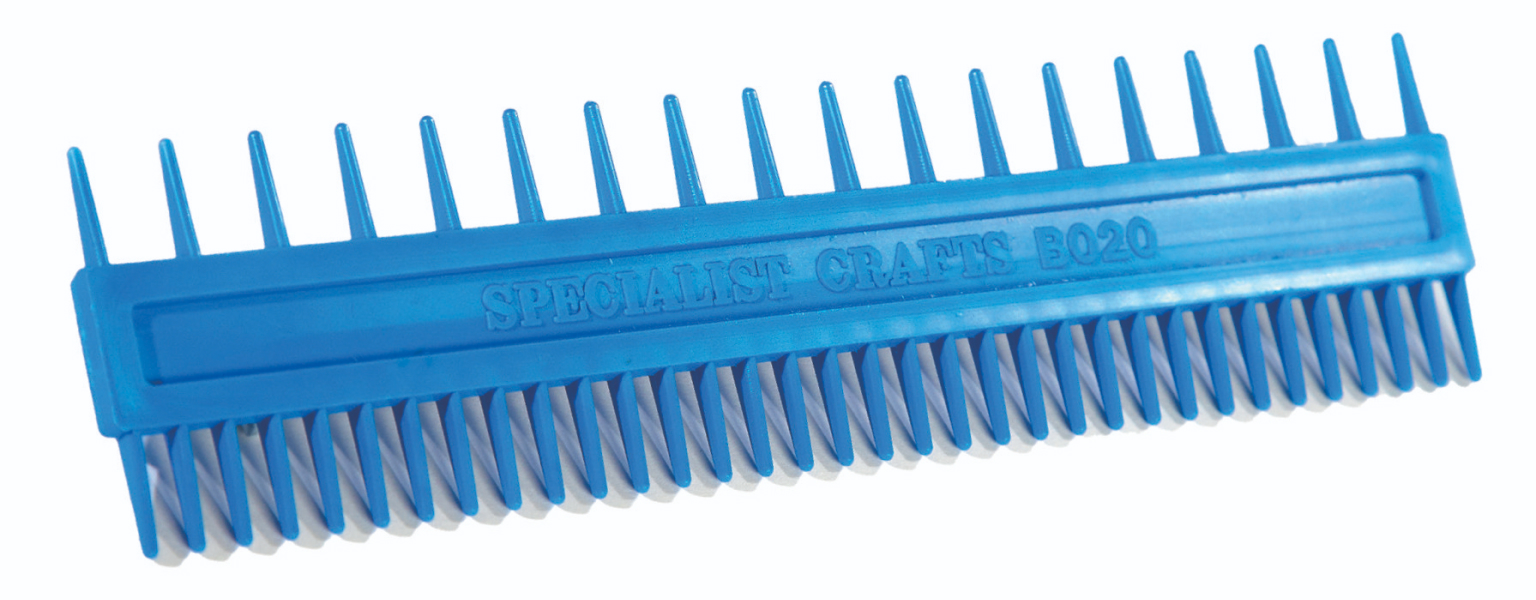
3. Colours can be squirted from the bottles, or placed in a palette and applied with a brush or pipette. Assemble all the items you need for manipulating the colours, such as a comb and stylus.
4. Before applying any colour to the bath, the surface tension must be broken by skimming it with newspaper. Surface tension reforms after a minute or so, and during this time you must apply the colours and manipulate them into your design. To skim, draw the newspaper carefully across the surface of the size all over. To create further marbled items, you will need to re-skim the surface before applying colour each time.
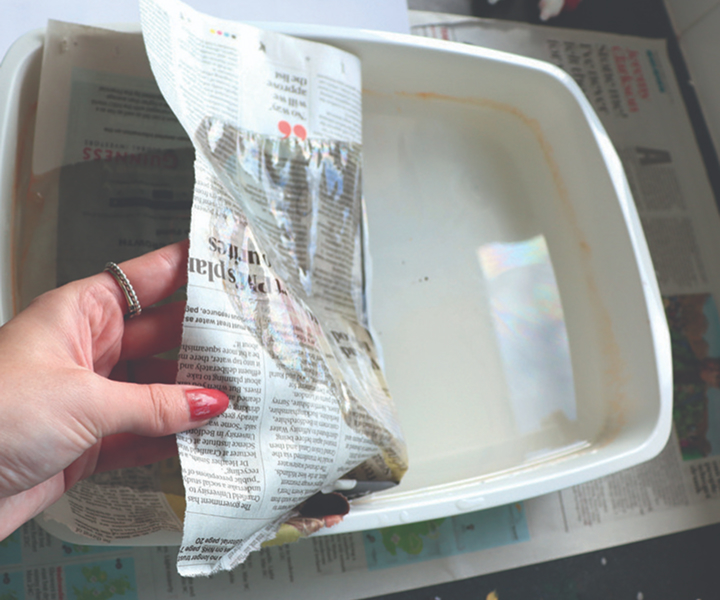

Step 4 - Skimming with newspaper
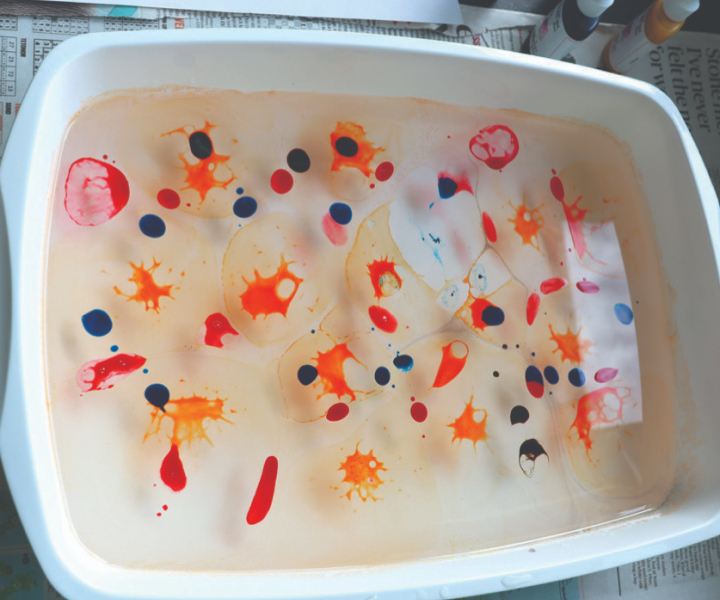

Step 5 - Skimming with newspaper
5. Drop your chosen colours on to the size. They will spread out across the surface. Draw your comb across the surface in varying directions or manipulate the colours with a stylus.
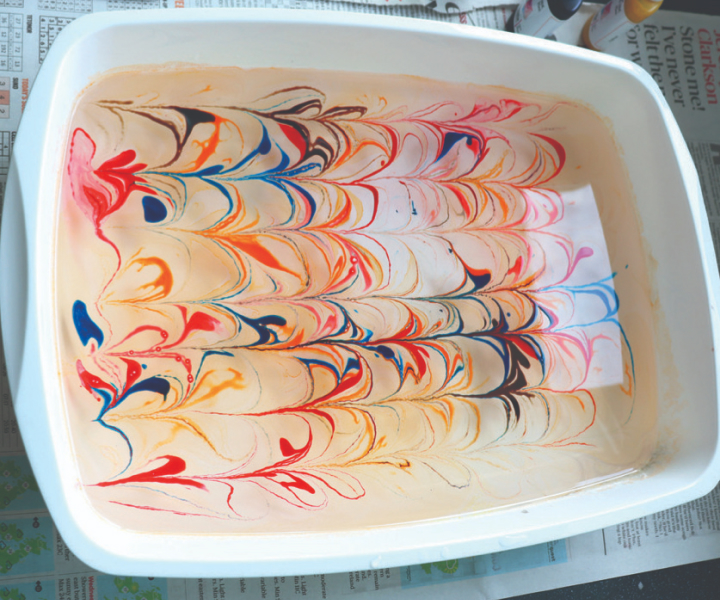

Step 5 - Use comb in desired style across the inks
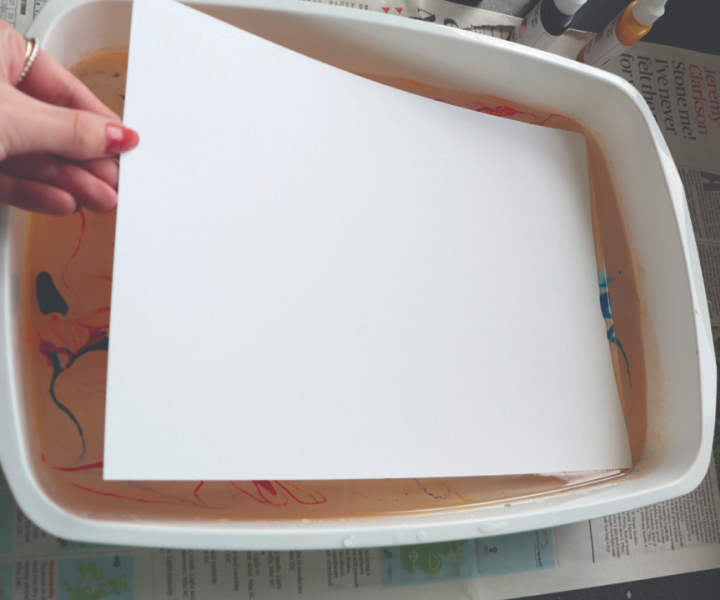

Step 6 - Drop paper or fabric into the bath gently.
6.When you are satisfied with your design, (and before the surface tension reforms), tranfer it to fabric or paper, lay it over the surface of the colours starting at one end and gently lower it taking care not to trap air bubbles which will prevent the transfer of colour. With fabric, you may need someone to help you, lower the fabric onto the colours and watch for air bubbles.
7. Both paper and fabric can be lifted off immediately.
8. Leave your wet fabric to dry somewhere flat. If you try to wash the fabric while still wet some colour bleeding may occur.
9. Leave to dry after rinsing. When the fabric is dry, it will be crispy. This dried size can easily be remove by washing in water.
10. Wash paper immediately in cold water and leave to dry.
Useful info: Natural fibres are best such as white silk or cotton.
Wash out any dressing the fabric may have so that it can absorb the dyes properly. On darker fabrics the colours will be less apparent.
Classic Patterns
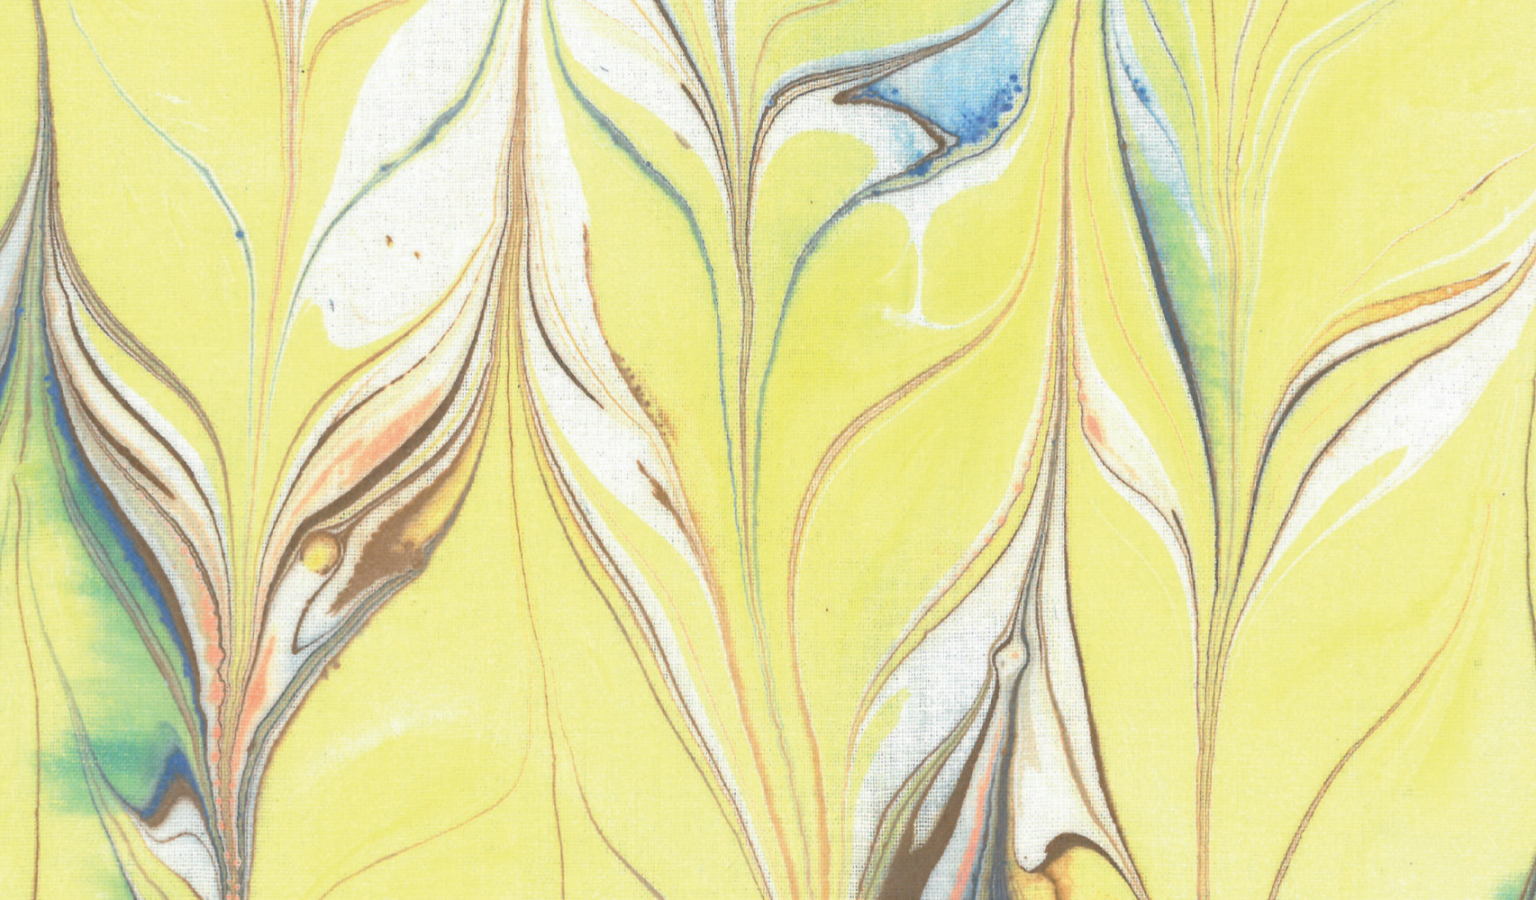

1. Gel Git - On the longest side, draw the rake or comb across the surface from side to the other, and back again, On the short side, do the same. Four strokes.
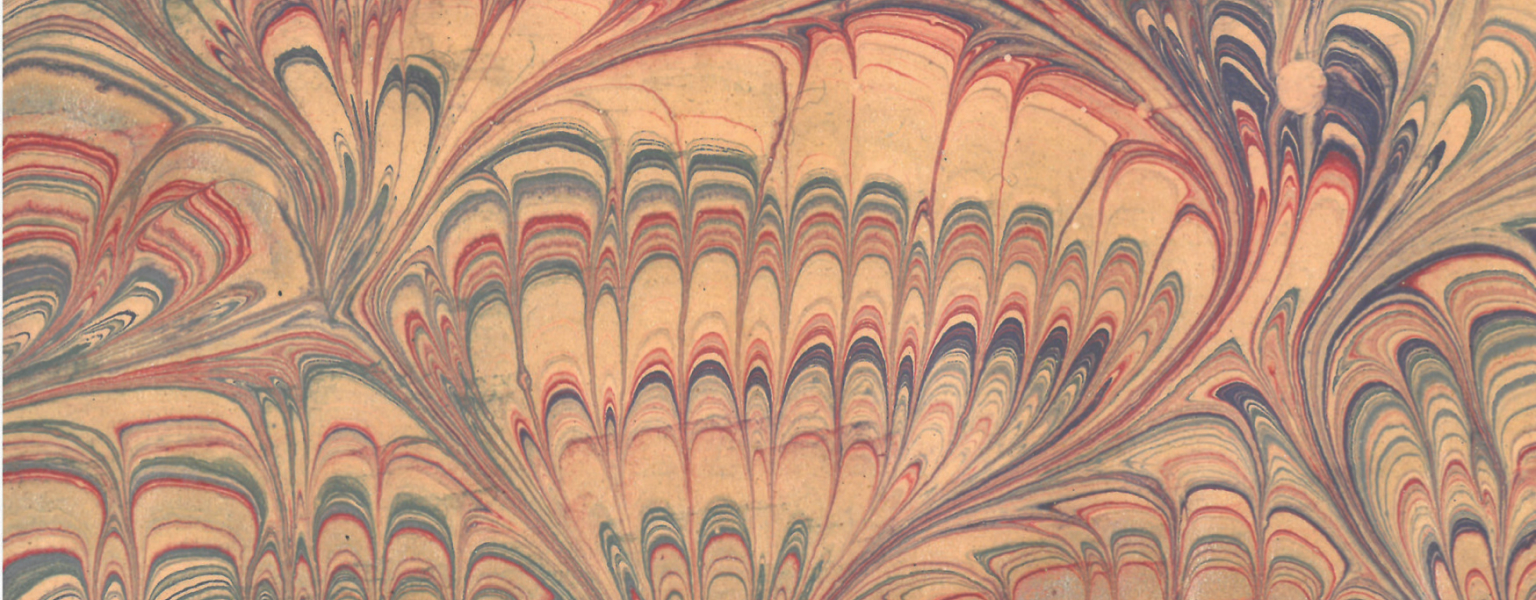

2. Peacock - From the Gel Git, wave the rake or comb across the surface in the direction of the last stroke. Five strokes.
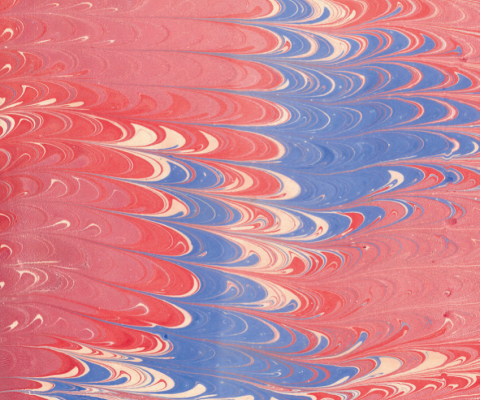

3. Nonpareil - From the Gel Git, draw the comb once across the bath. Five strokes.
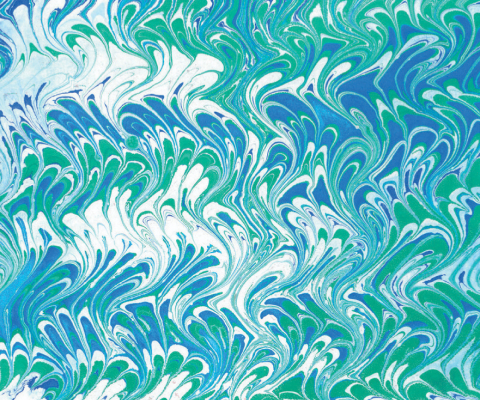

4. Bouquet - From the Nonpareil, draw the rake or comb in a wave across the surface in the same direction as the last movement. Six strokes.
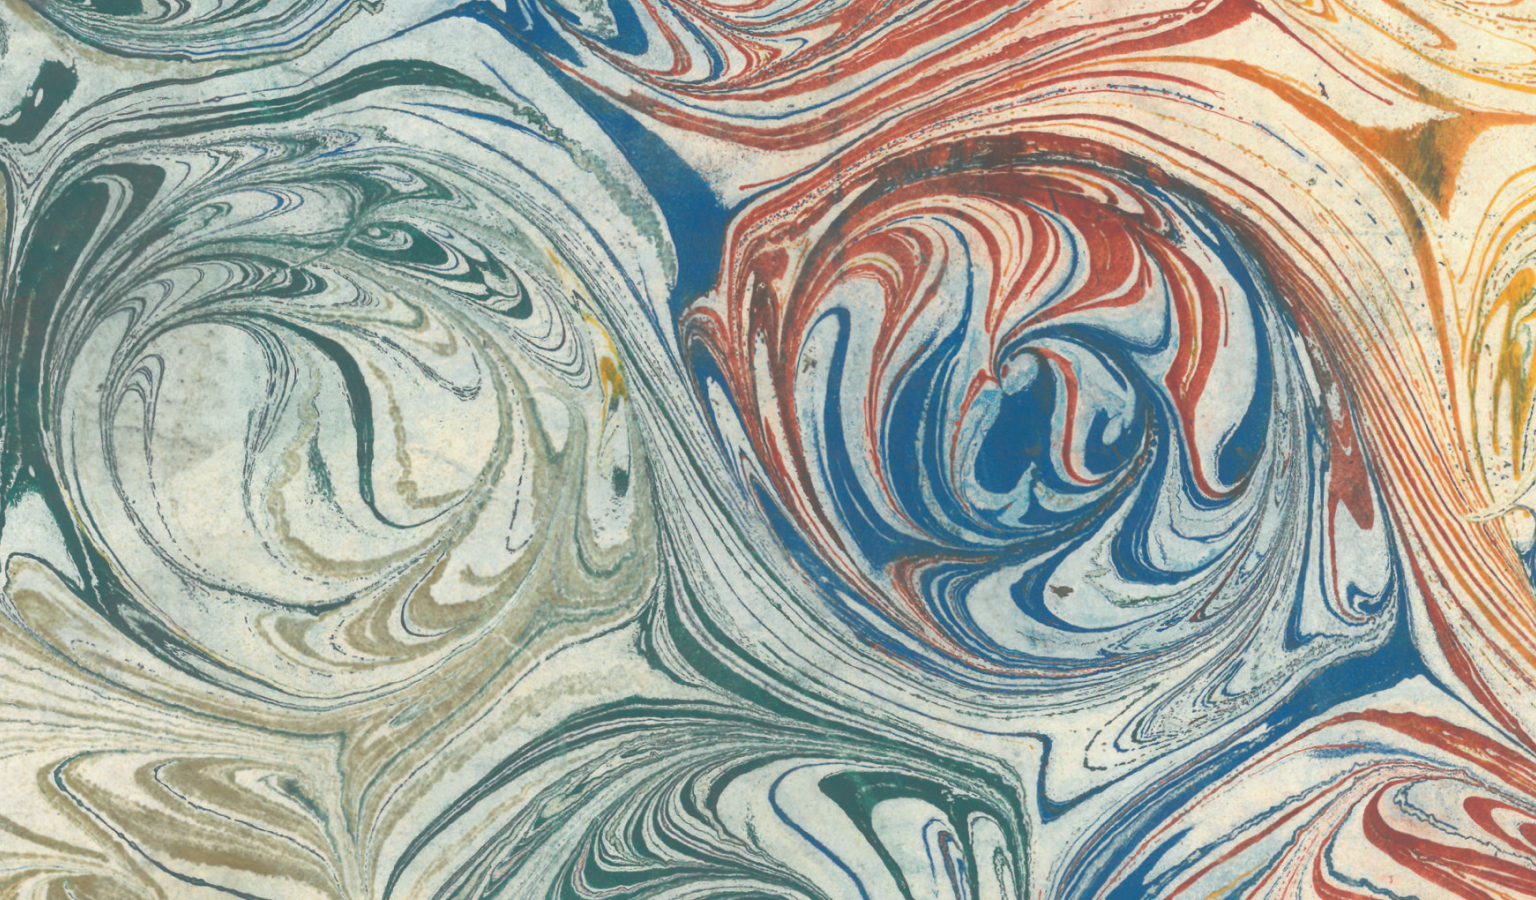

5. French Curl - From Nonpareil, lower the comb into the surface of the size holding it parallel to you, pull it slighty to the left and away from you, move it further back and to the right, and then continue the circle back to the starting point. Lift out of the comb, and then continue next to this row of circles until you have covered the whole area.

Using your marbling papers
Once you have designed and marbled your paper, you can then use these to create various project pieces:
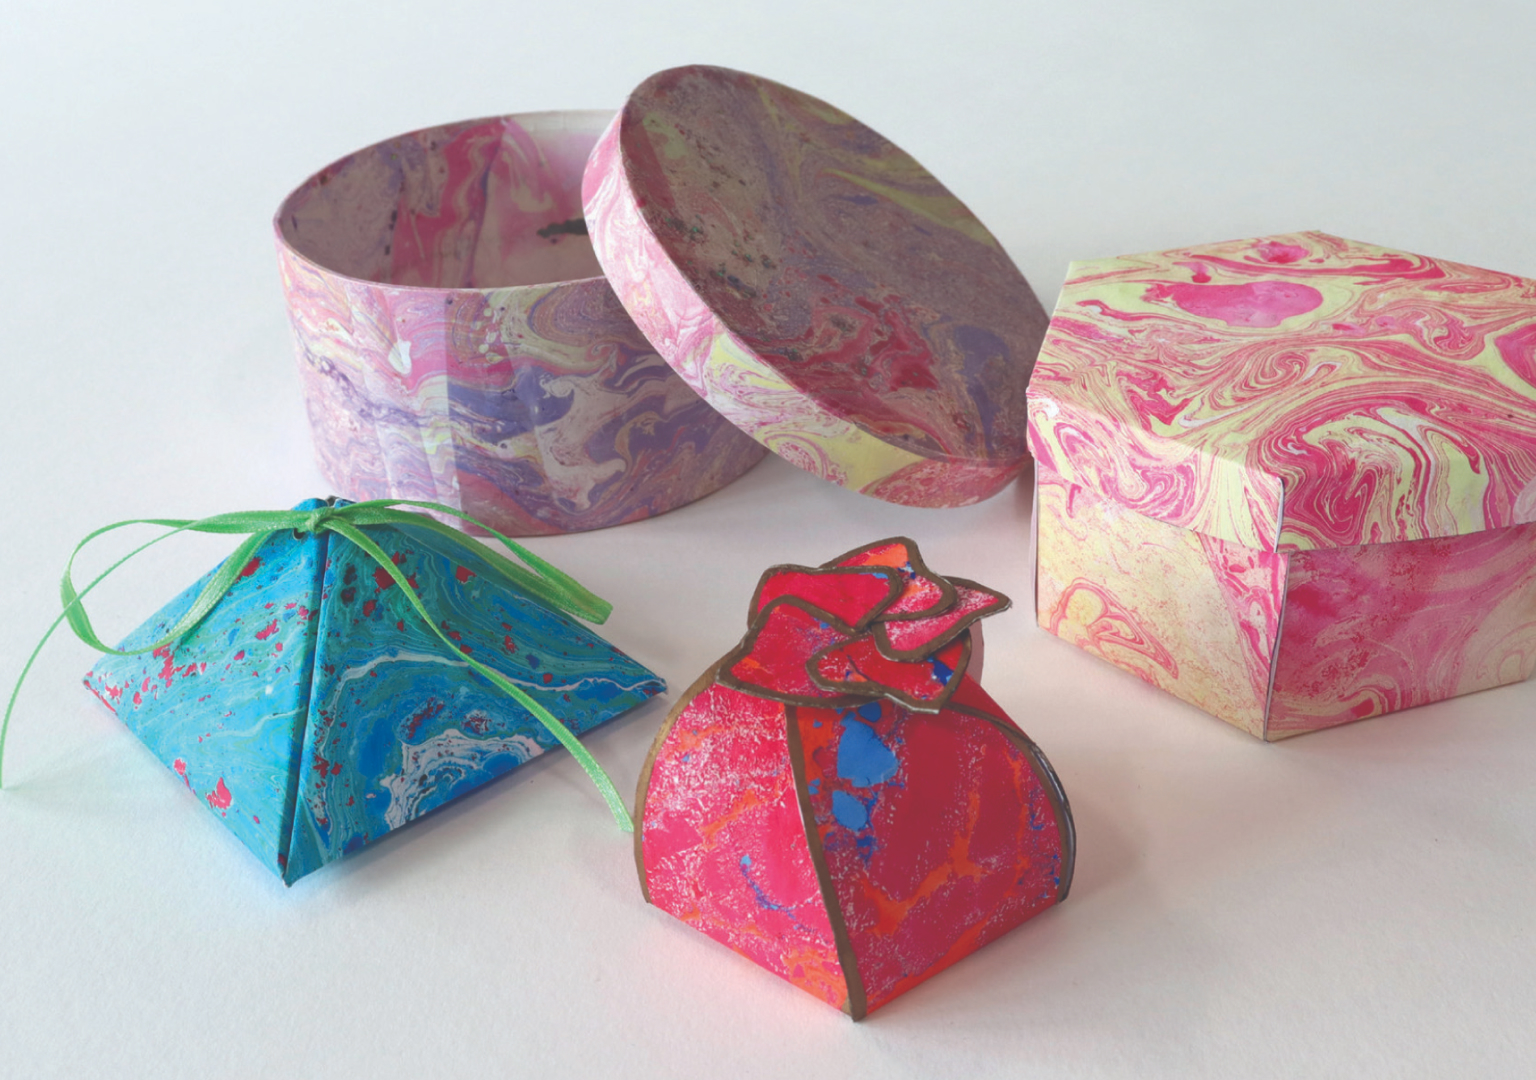

Gift Boxes and Storage Boxes
When your marbled paper or card is dried, you can use these to cover existing card boxes with glue, or fold your marble card into the shaped box desired. These are perfect for storing small objects.
You can also use origami type techniques to fold your paper or card into decorative gift boxes. Add details such a ribbons and paint the edges of the box with gold to make it stand out further.
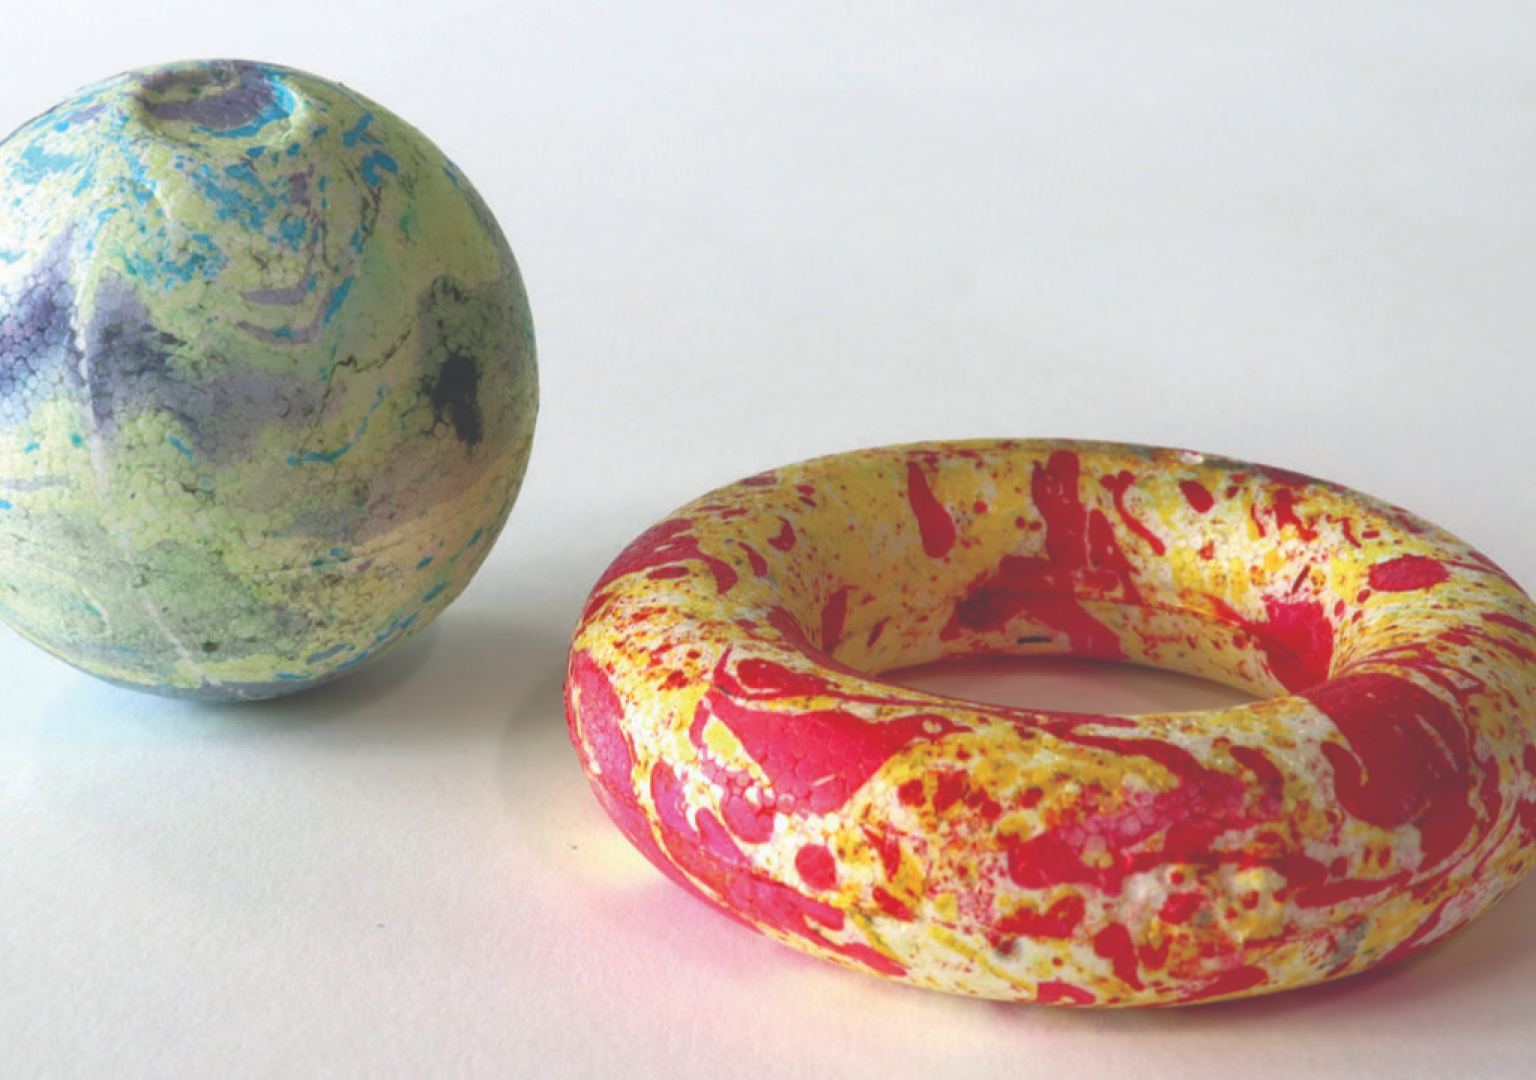

Polystyrene
Polystyrene is an easy material to marble. You can do this the same way you would paper or card, by preparing your marbling ground in advance first. Drop your mabrling inks into the bath and create your pattern using a comb or stick.
You may need to put a stick into the polystyrene before marbling for an easy way of dipping your shape into the inks. These can be used for seasonal decorations or displays.
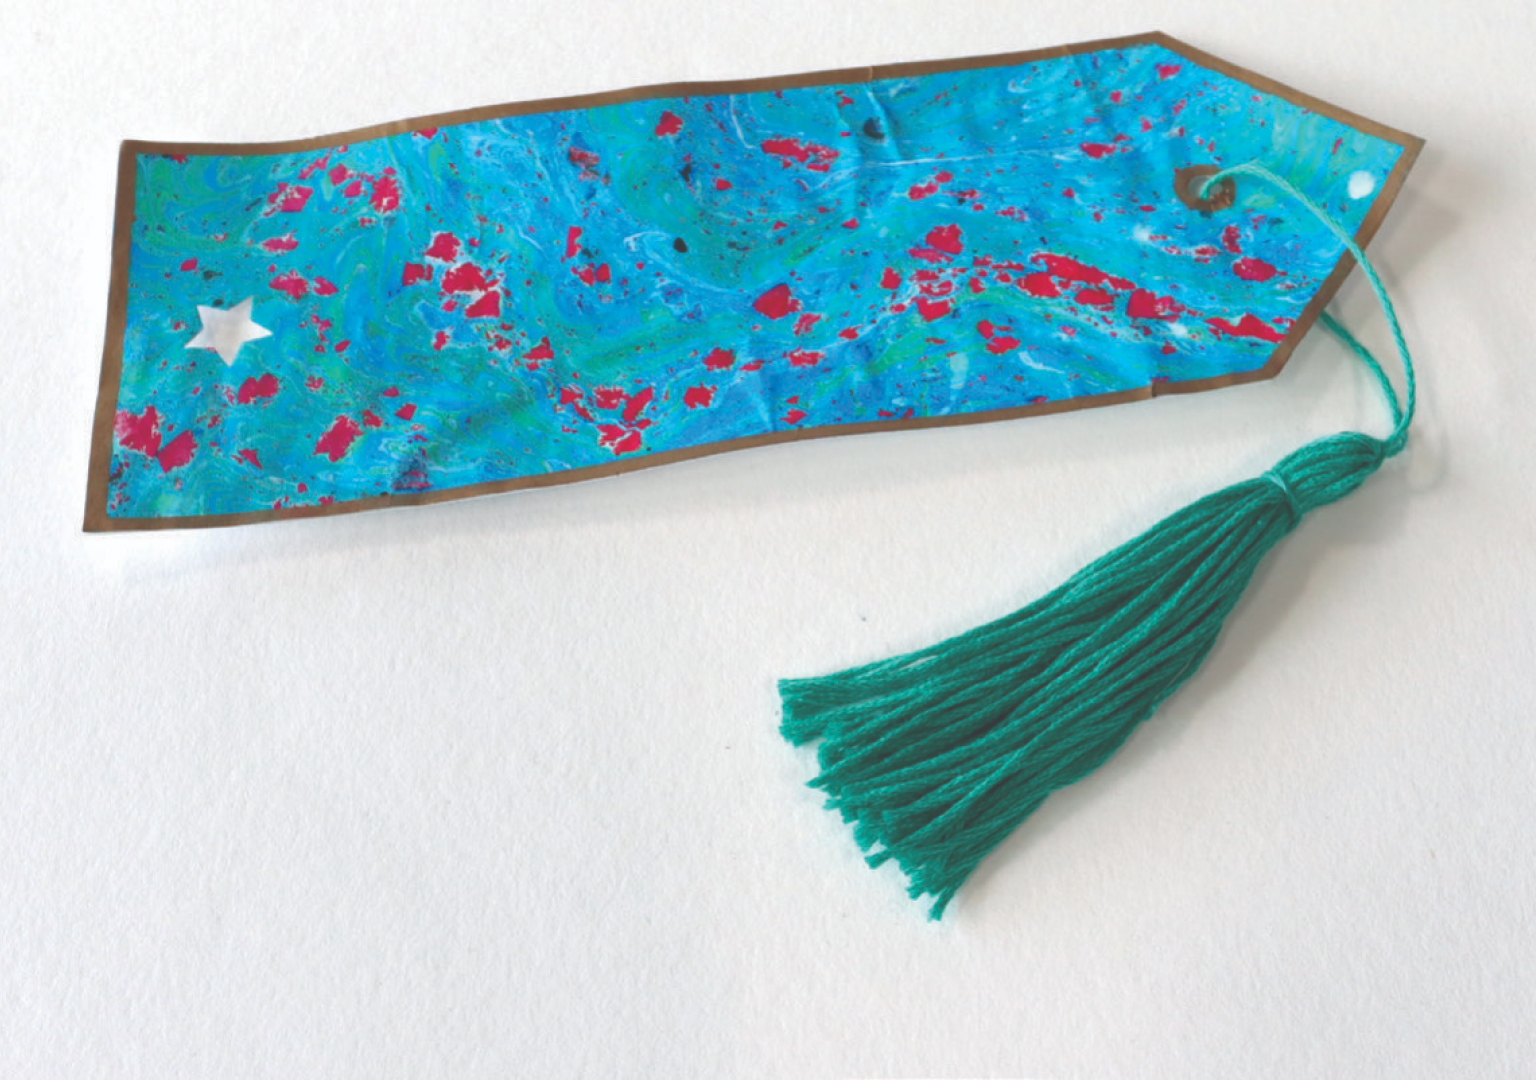

Bookmarks
Another simple idea is to create bookmarks by cutting out your desired shape. You may need to stick a backing to this to make it more sturdy such as card. Create a whole in the top and add a tassel made out of embroidery threads or yarn.
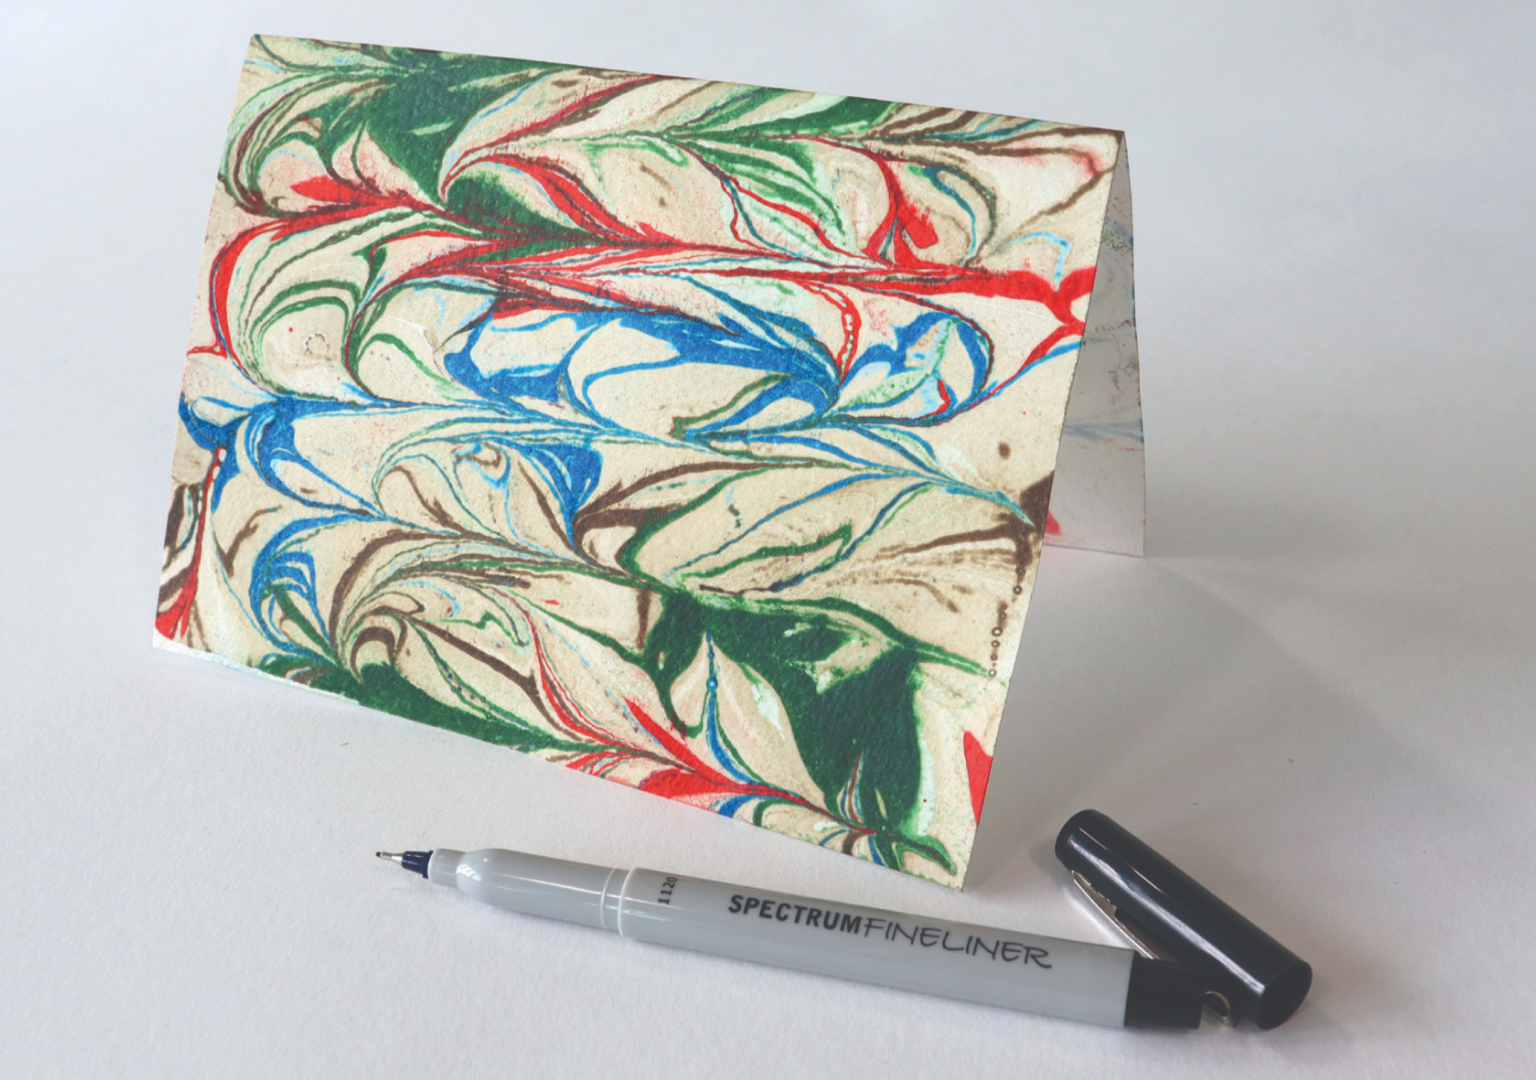

Cards
Create decorative cards with your designs which can be further embellished with pens, trimmings and layers.
Marbling on fabrics
When marbling with fabrics, it’s important to check the texture of the surface, as it will determine the outcome of your marbling.
Natural or synthetic fabrics that have a tight weave and smooth surface will provide the best results. If choosing to marble garments, a tightly woven fabric such as satin, polyester blends, rayon, and silks, will provide excellend results.
Use fabrics such as organza and chiffon for subtle prints. However, avoid using fabrics such as corduroy, linen and velevteen which have a loose weave as these won’t give good results.
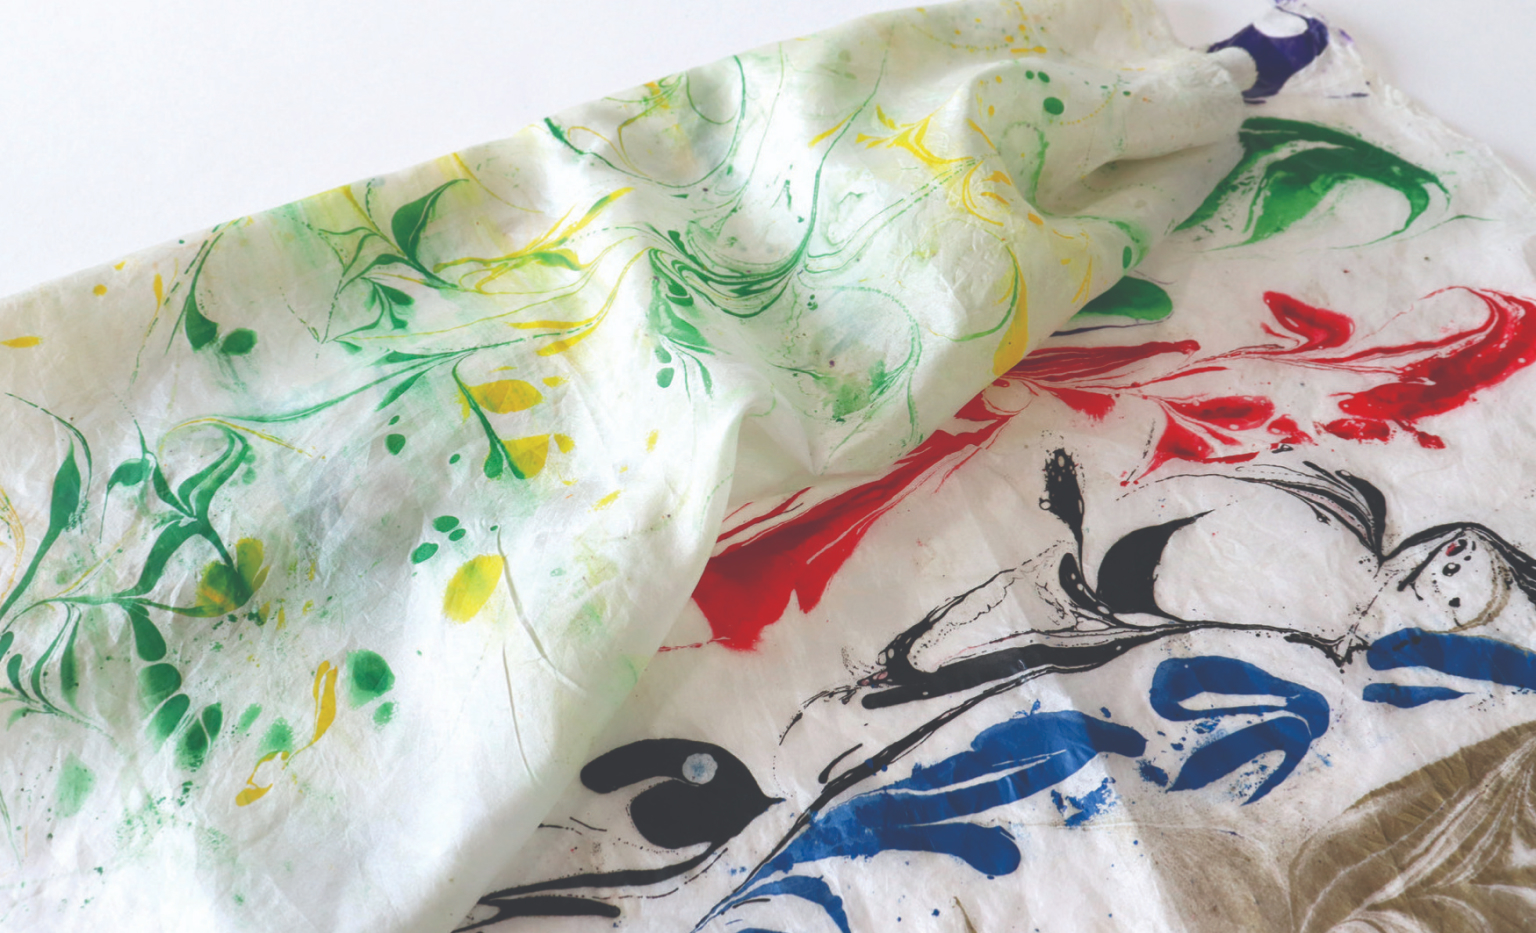

You can marble items such as canvas bags, ribbons, trainers and silk scarfs which give good results. Most items with a slick surface will work well. Fabrics will need to be iron fixed for five minutes once marbling inks have dried.
Marbling with shaving foam
Marbling can also be achieved by using shaving cream.
Simply cover a tray with a layer of shaving foam. Drop your colour into the foam and drag a stick through to create a swirled effect.
Drop your paper onto the foam and press down gently, lift off and gently scrape away the remaining foam with a piece of cardboard. Set aside to dry.
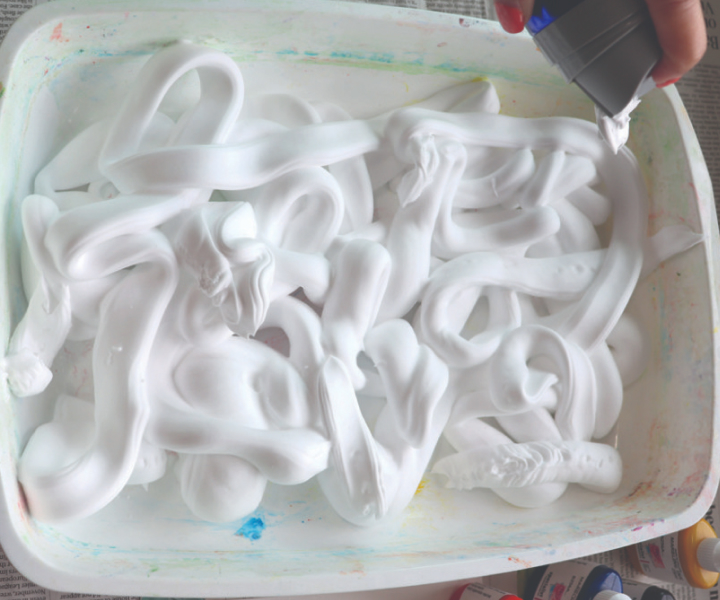

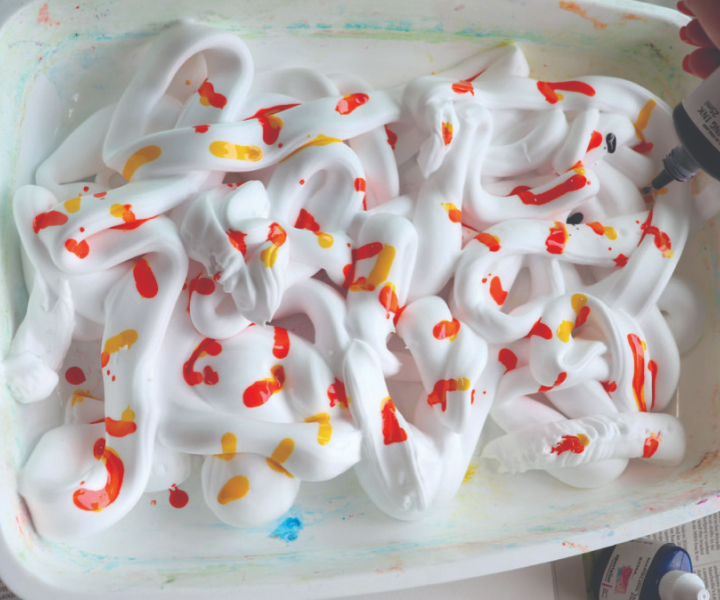

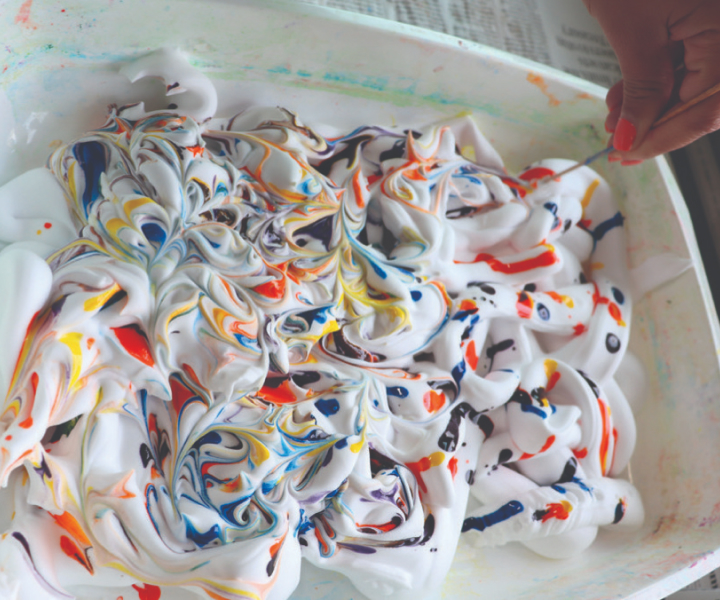

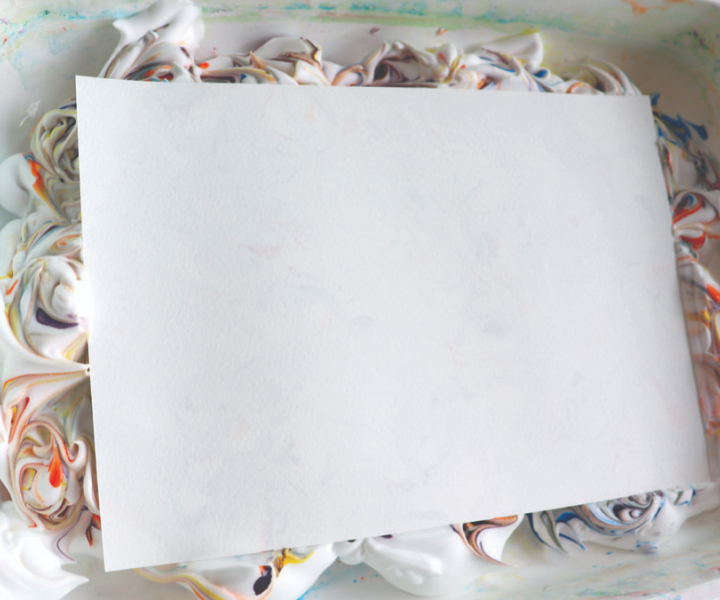

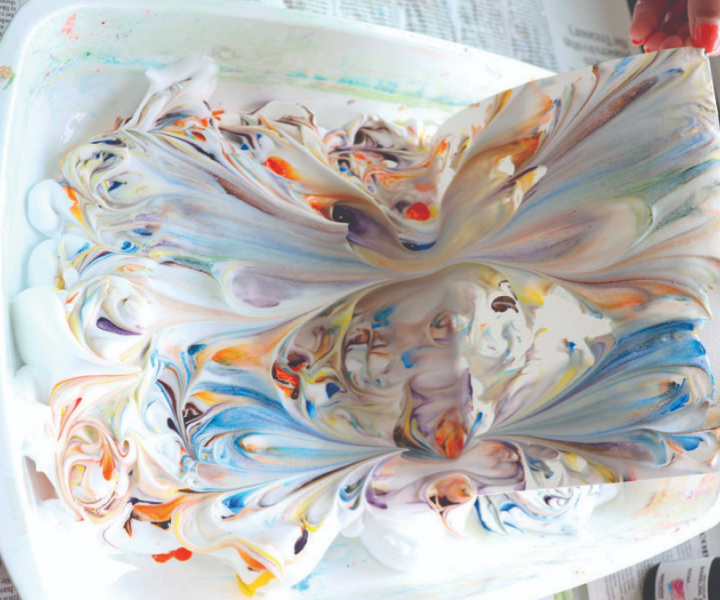

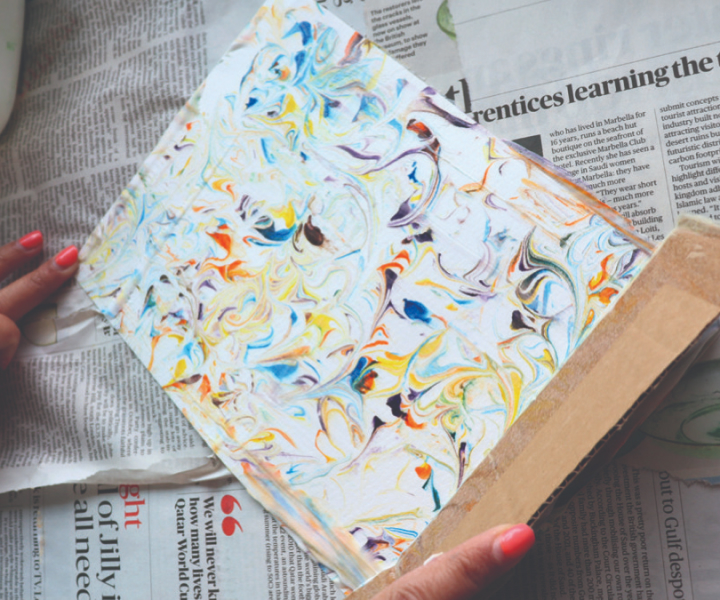

As the marbling inks won’t be dispersing in the shaving foam, you can opt for using liquid watercolours or watered down food colouring to create similar effects. Be sure to still use a paper thick enough though to take the weight of the foam.
Helpful tips
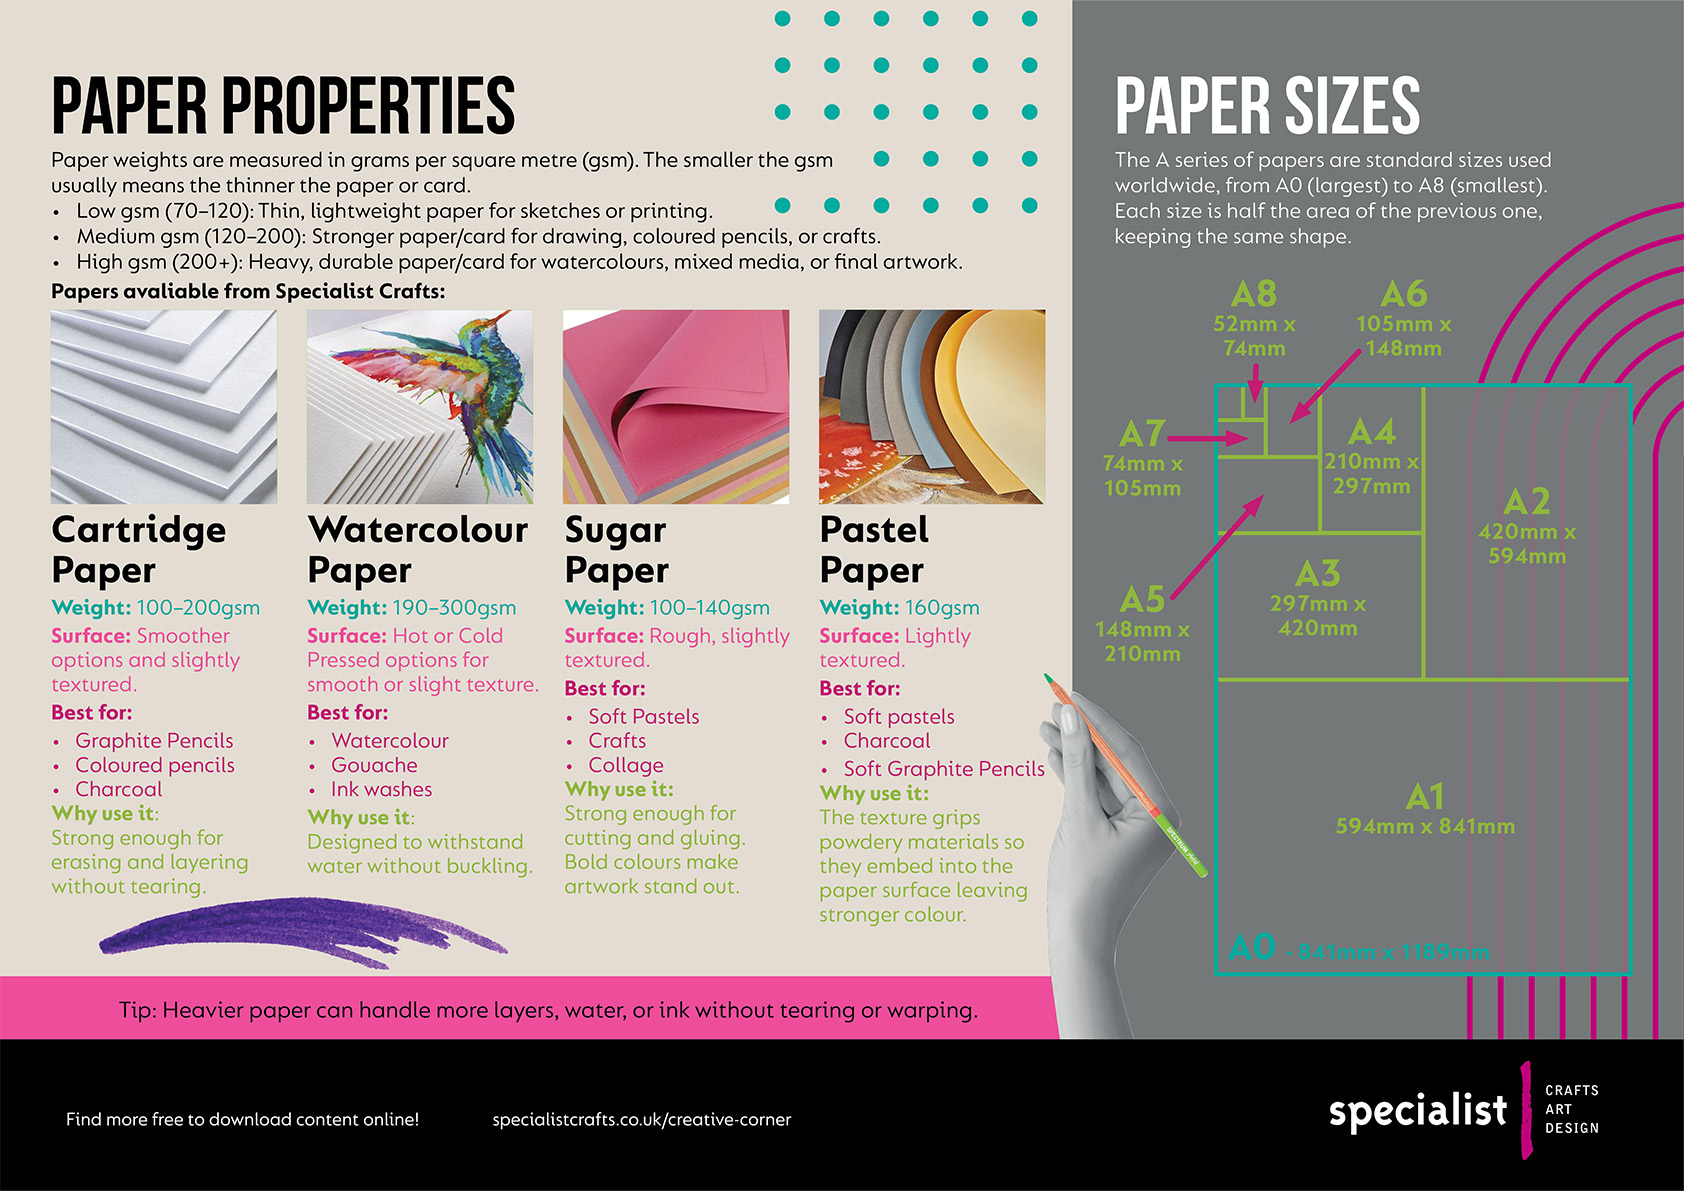
When using paper to marble, it is important to use the right thickness. It needs to be absorbent enough to withstand the water bath, but not so thick that it is not flexible. If your paper is too thick, it can also push away the pigment when placed in th bath. Opt for an uncoated paper to avoid this.
Work quickly! To prevent your marble colours from sinking to the bottom of the shallow bath.
Protect your workspace with plenty of newspaper, as well as wearing gloves and an apron where applicable. Inks can stain!
You can mix colours with varied quantities to create designs which are incticately worked or stick to using 2-3 colours for more subtle effects. Add white to create bubbled effects and hihglights, or use black for shadowed areas.
The end design outcomes are always unique! Experimentation is key to working with marbling inks.
